Getting bang for your apple buck
what makes a good apple? plus recipes for making the most of the whole apple, core and all
From one autumn fruit to the next, this week’s newsletter sees us shuffling sideways from the fancy feijoa to one of our more humble fruity fellows. For those who have been with the newsletter since its early days, you’ll be aware that writing about apples is nothing new for me. But while the last time they featured on this platform, the focus was more on flavour-packed recipes with apple as a component to a greater product, today I thought I’d share some simple ideas to get the most out of your apple, especially when you’ve overzealously bought a whole basketful before taking a bite and realising they’re all floury. There’s few things more disappointing in this world than a mealy apple, but fret not, as the recipes I’m sharing today will turn any kind of average-tasting or out-of-shape apple into useful and versatile products.
Apples are one of those fruits which we seem insistent on having on our shelves all year round. If you went to the supermarket and they had no apples, you might quickly find yourself piling rolls of toilet paper into your trolley ~ as surely no apples means the apocalypse is coming?!
Yet, the Aotearoa apple harvest is really only from late February (at the earliest) until May. So how do we manage to have homegrown apples all year round? The answer is in a technology called Controlled Atmosphere Storage, which allows the perfect balance of temperature, humidity, oxygen and carbon dioxide levels to allow apples to hibernate in storage. This technology preserves their condition for long periods after picking. Unfortunately, as terrific as this technology may be, there is no denying that a new season Aotearoa-grown apple eaten in April beats an October offering any day. Often what you may find when eating controlled-atmosphere stored apples out of season, is that while their appearance can be unchanged, their flavour and crispness may have waned.
Writing about this got me wondering, what is actually happening at a cellular level to make an apple mealy or floury? Apparently, when apple cells age, their cytoplasm (fluid structure of the cell) and vacuoles (cell organelle that helps maintain water balance in the fruit) lose their moisture over time. This causes the cell wall to collapse and the cells of the apple become flimsy, which sees the desirable crispness deteriorate. Like when you’ve had a few drinks too many while sweating it out in the sun, and you’re dehydrated asf. One article I read suggests that one way you can test if an apple might be secretly floury before purchasing it, is to tap the side of the apple ~ apparently crisp ones will sound hollow whereas floury apples tend to sound more dense and dull. If anyone has their own tips or secrets on how to tell if an apple will be crisp or floury, I’d love to hear them! Share your thoughts in the comments below :)
Another thing I’ve been considering with apples on the brain this week, is how we all seem to have our own unique preferences for different apple varieties. Just like how we staunchly defend which basic block of cheese we side with (if you’re a fan of ‘Mild’ I no longer know you), some of us are very staunch supporters of the apple team we’re on. What I’ve realised is that often when you ask people why they like a certain apple variety more than another, it’s quite baseless, usually piggybacking on whatever their parents told them when they were younger. For me, I always used to be a Braeburn man, and would be shocked that someone might preference a Royal Gala or Eve when the option for a Braeburn was right next to it. On reflection this has been purely based on my Dad definitively telling me that Braeburn’s are the best apples, “they’re always good”, when I was a kid. I must say it doesn’t help when The Spinoff posts an article, claiming to be the ‘Definitive ranking of the apples of New Zealand’ and the Braeburn comes out on top. Thinking this may just be a Kiwi bias, I was then shocked to see that a comparable ranking from a US media source also placed Braeburn at the top of the pops. Is anyone else here Team Braeburn? Or do you opt to take a bite from a different kind?
The past couple of years I’ve decided to scrutinise the apples I eat more carefully, and while Braeburn’s aren’t a bad choice, better than some, I’ve enlightened myself that you’re actually just as likely to have an average Braeburn as you are to have an average version of any other apple, and that while apple flavour is an important component, it really is the crispness that trumps at the end of the day. But if I am judging apples for their flavour, often I find apples overly sweet, so these days my favourite common variety is actually the Granny Smith ~ I appreciate its tartness, plus it’s a really versatile apple for use in both sweet and savoury dishes.
In Aotearoa we have a a wide array of different apple cultivars, including many heritage apple varieties which each have their unique flavour and texture profiles. According to Te Ara, the encyclopaedia of New Zealand, in the 1960’s there were a whopping 90 different apple cultivars grown commercially. Unfortunately with the growing scale of apple production and absorption of smaller diverse growers by larger scale horticulture, we've seen our heterogeneity fall dramatically. In the 1990’s the variety had dropped to just 27 apple cultivars, and has fallen further since. We know that biodiversity within a food system is crucially important, but maintaining diversity within a particular species of produce is also a crucial part of food systems resilience, as different varietals each carry their own unique characteristics and traits which will have differing tolerance to changing environmental factors. This is why if you have an old apple tree in your back yard or local community orchard, or know of some heritage apple varieties growing in your region, it’s important for us to try and nurture these plants to preserve their longevity and availability within our food systems.
Who knew that I had so much to say about apples??!! Anyway, back to the recipes I’m sharing this week, as I know that’s why most of you are here. This week’s recipes are inspired by fallen apples collected from the base of a tree on a property neighbouring my parents’. The variety is called Beauty of Bath and has unique red stripes through the apple flesh. Unfortunately the apples themselves were rather floury and not great for fresh-eating. So with an armful of apples to use, this week I’m sharing two excellent ways to use up a batch of less-than-perfect apples. Firstly, a versatile spiced apple sauce that’s great to have on hand to use as part of a quick dessert or bit-on-the-side at the dinner table when apple’s are no longer in season. And along with this, for paid subscribers I have a foolproof recipe for how to make your own homemade apple cider vinegar from the apple scraps from said apple sauce. Truly getting the full bang for your apple buck!!
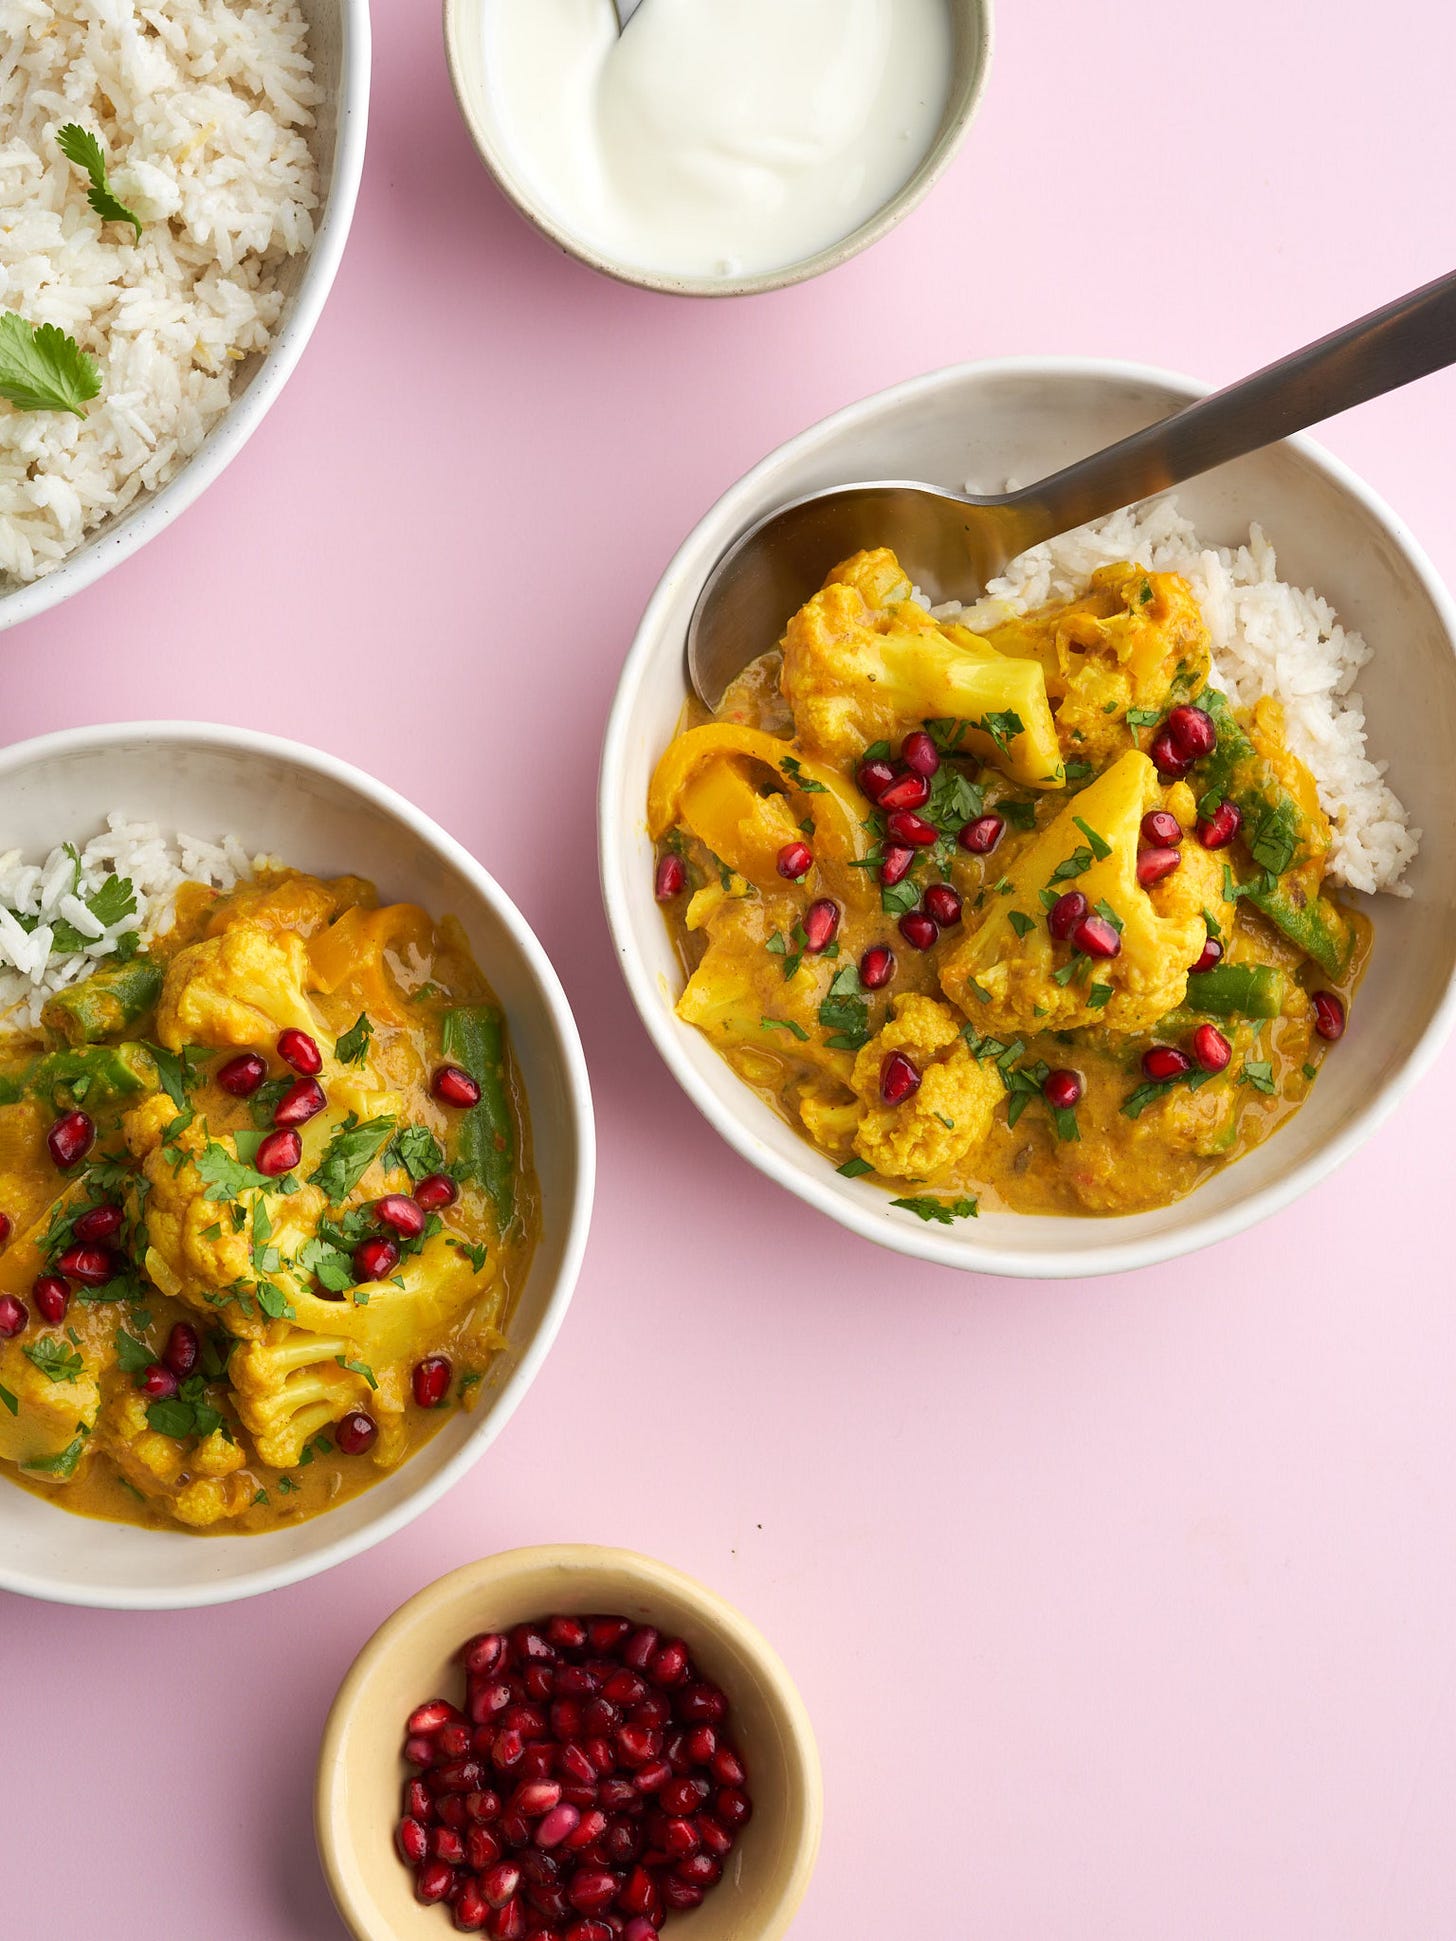
Cooking from Good Vibes: Caulis have been looking good at the local market or super lately, plus it’s mandarin season baby!, so it’s the perfect season to make ‘The OG’ mango & mandarin curry. On the table in 1 hour, it’s also a great make-ahead meal to reheat later in the week (which is how I ate it last week). It’s also a great time to utilise the NZ lime & apple season by making my Lime, apple & poppy seed cake with caramelised coconut topping, a delicious, easy, textured and tangy vegan cake that’s an excellent autumn bake.
Scroll down for my promised easy apple recipes below. Next week’s newsletter will see two more apple-inspired creations, including a recipe for Braised leeks with apple, sage & MARMITE. You’ll have to try it to believe it ~ I actually recipe tested and photographed it this morning and can confirm I’ve been thinking about it all day since - so keep an eye out on your inboxes for its arrival next Sunday.
Much love,
Alby xx
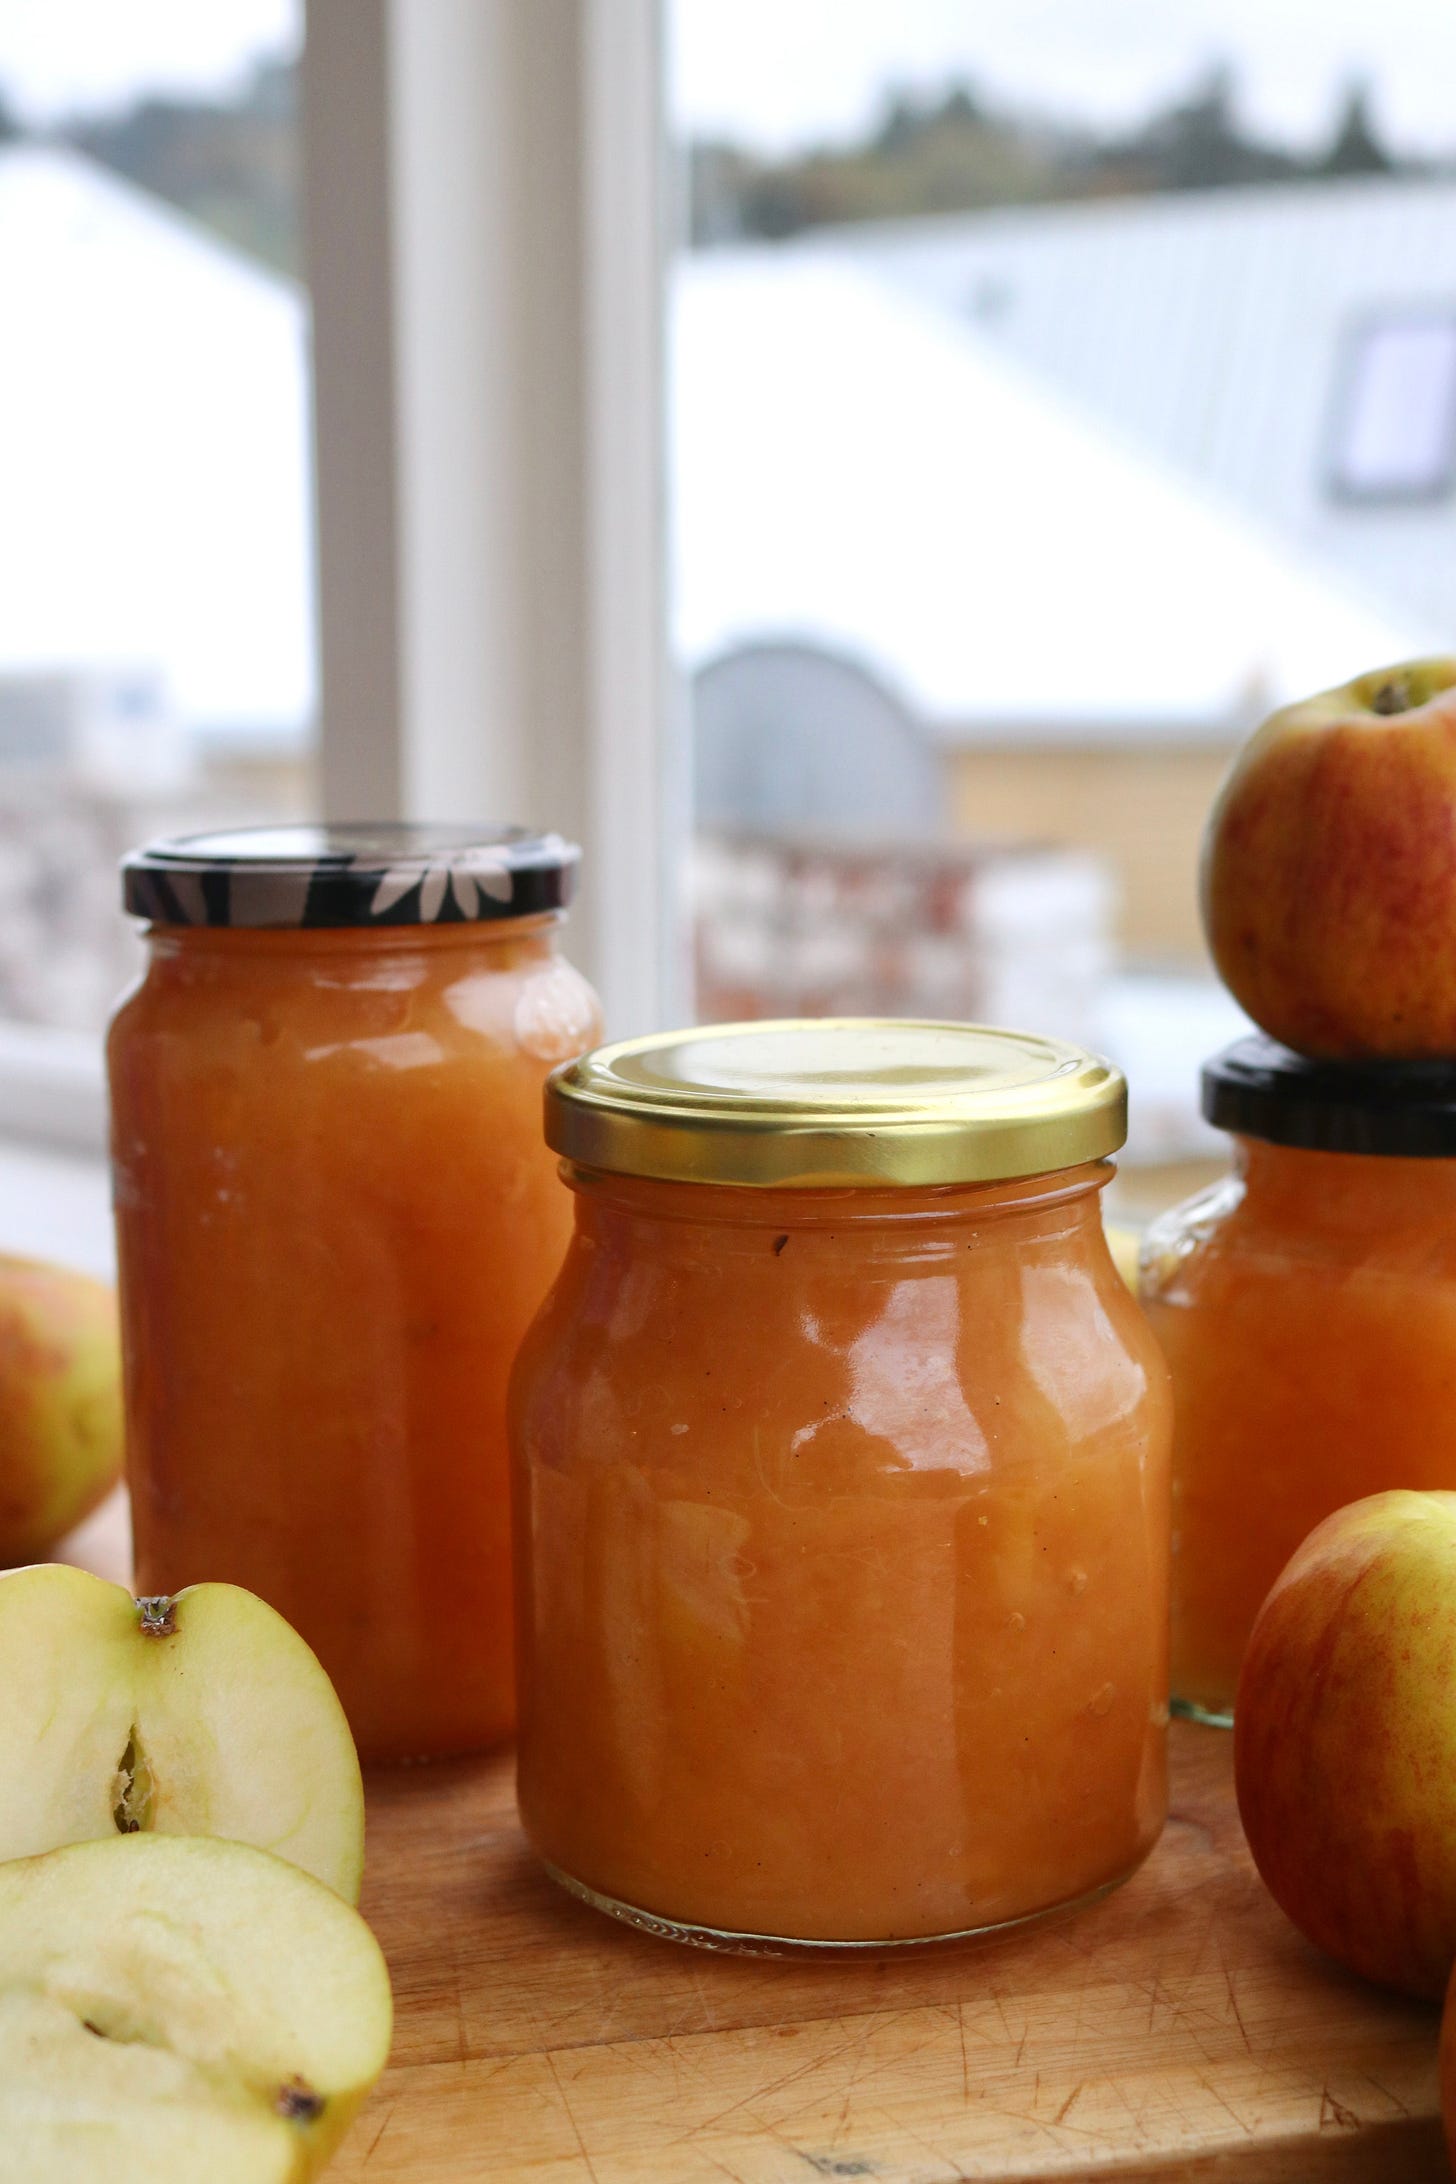
Spiced apple & maple sauce
I’ve often thought of apple sauce as being a bit of an ‘old granny’ condiment, for no good reason that I can think of. Maybe it harks back to watching Snow White as an infant and the granny-apple overlap that Walt Disney embedded in my brain: “Old granny knows a young girl’s heart”.
Then there’s the obvious link that there is a ubiquitous apple variety named after the one and only Granny Smith. Granny’s aside, apple sauce is also something I tend to associate strongly with roast pork or baby food, neither of which are things I tend to crave. So it’s never been something I’ve particularly reached for or felt the need to make. But when you’re found with a bagful of foraged average-eating apples, the call to make apple sauce is suddenly stronger. And having made it myself, my affinity towards it has instantly grown. Apple sauce is actually remarkably versatile - it’s a common ingredient used in vegan baking recipes to help bind, add moisture and bring a more pleasant mouthfeel. One of my favourite ways to use it is swirled through some yoghurt with a quick stovetop crumble of toasted nuts and oats. It freezes and refrigerates excellently, another reason to make it.
Hands-on Time: 20 minutes (mainly peeling/coring time)
Total Time: 40 minutes
makes about 1.25kg of sauce
Cost Estimate: $12 (or $7 if using brown sugar instead of maple syrup)
Ingredients
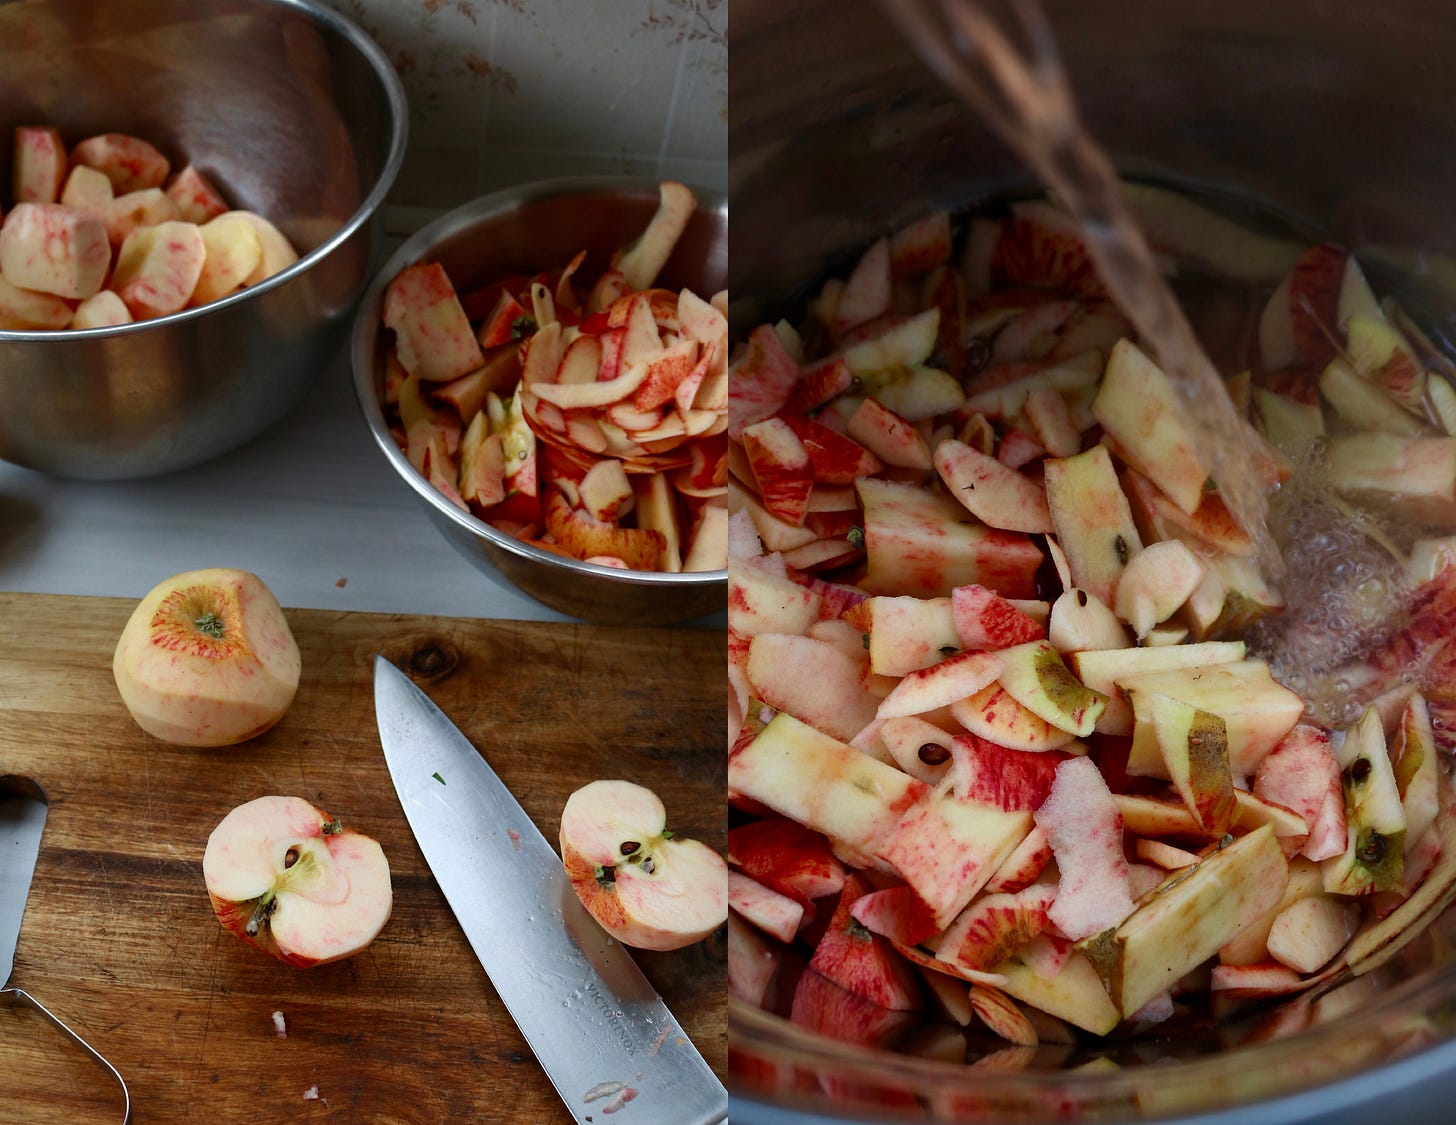
1.25kg apple flesh (from 2kg apples, peeled and cored), chopped into 2-3cm chunks ~ save the apple cores and peels to make homemade apple cider vinegar (recipe below)
150ml maple syrup
2 cinnamon quills
2 star anise
12 cloves
2 tsp vanilla paste
large pinch of sea salt
2 lemons
Method
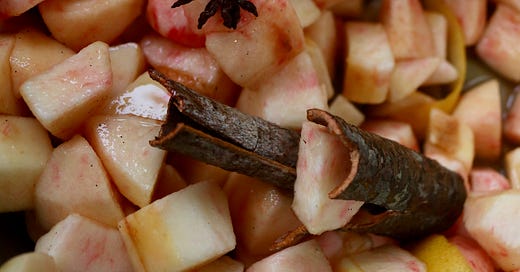
Place all ingredients and 150ml water in a large heavy-based saucepan over medium-high heat. Peel the zest of the lemons into long strips and add to the pan, along with the juice of both lemons, stirring through. Bring to the boil and once bubbling vigorously, lower the heat to medium-low, cover and simmer for 20 minutes, until the apples are beautifully softened. Stir and mash with a wooden spoon to form a slightly chunky sauce. Remove the lemon zest and whole spices from the sauce, then pour into sterilised jars and seal.
Alby’s Advice:
Use whatever whole spices you have around, things like cinnamon, cardamom, cloves, allspice and coriander would all work well. Alternatively, if you want to increase the spice flavour, you can use ground spices instead.
I’ve opted for maple syrup as I love its flavour, but you could use soft brown sugar instead (just substitute with equal quantity, or less if you’re trying to reduce your sugar intake, as the apples are already relatively sweet).
Apple cider vinegar
Following along from some of this year’s previous newsletters (like the zero waste vege stock), as part of Eating Who I Want to Be, I’m trying to get the most out of all the produce I eat, including the skins and cut-away scraps. Making apple cider vinegar is a great way to utilise any apple scraps you might be left with. It requires very little effort ~ just a few minutes to mix the components together at the beginning then the occasional stir and you’ll have your own vinegar in no time. This recipe is designed to pair perfectly with the apple sauce recipe above (as the ratios are for the peels/cores from the same weight of apples).
Hands-on Time: 15 minutes
Total Time: 6-9 weeks
makes about 2 litres
Cost Estimate: $1 (as using discarded peels/cores from apples above)
Ingredients
750g apple peels/cores (from 2kg apples)
8 tbsp sugar (whatever you have on hand)
Method
Stage 1 - Alcoholic Fermentation (sugar to ethanol via wild yeasts & oxygen)
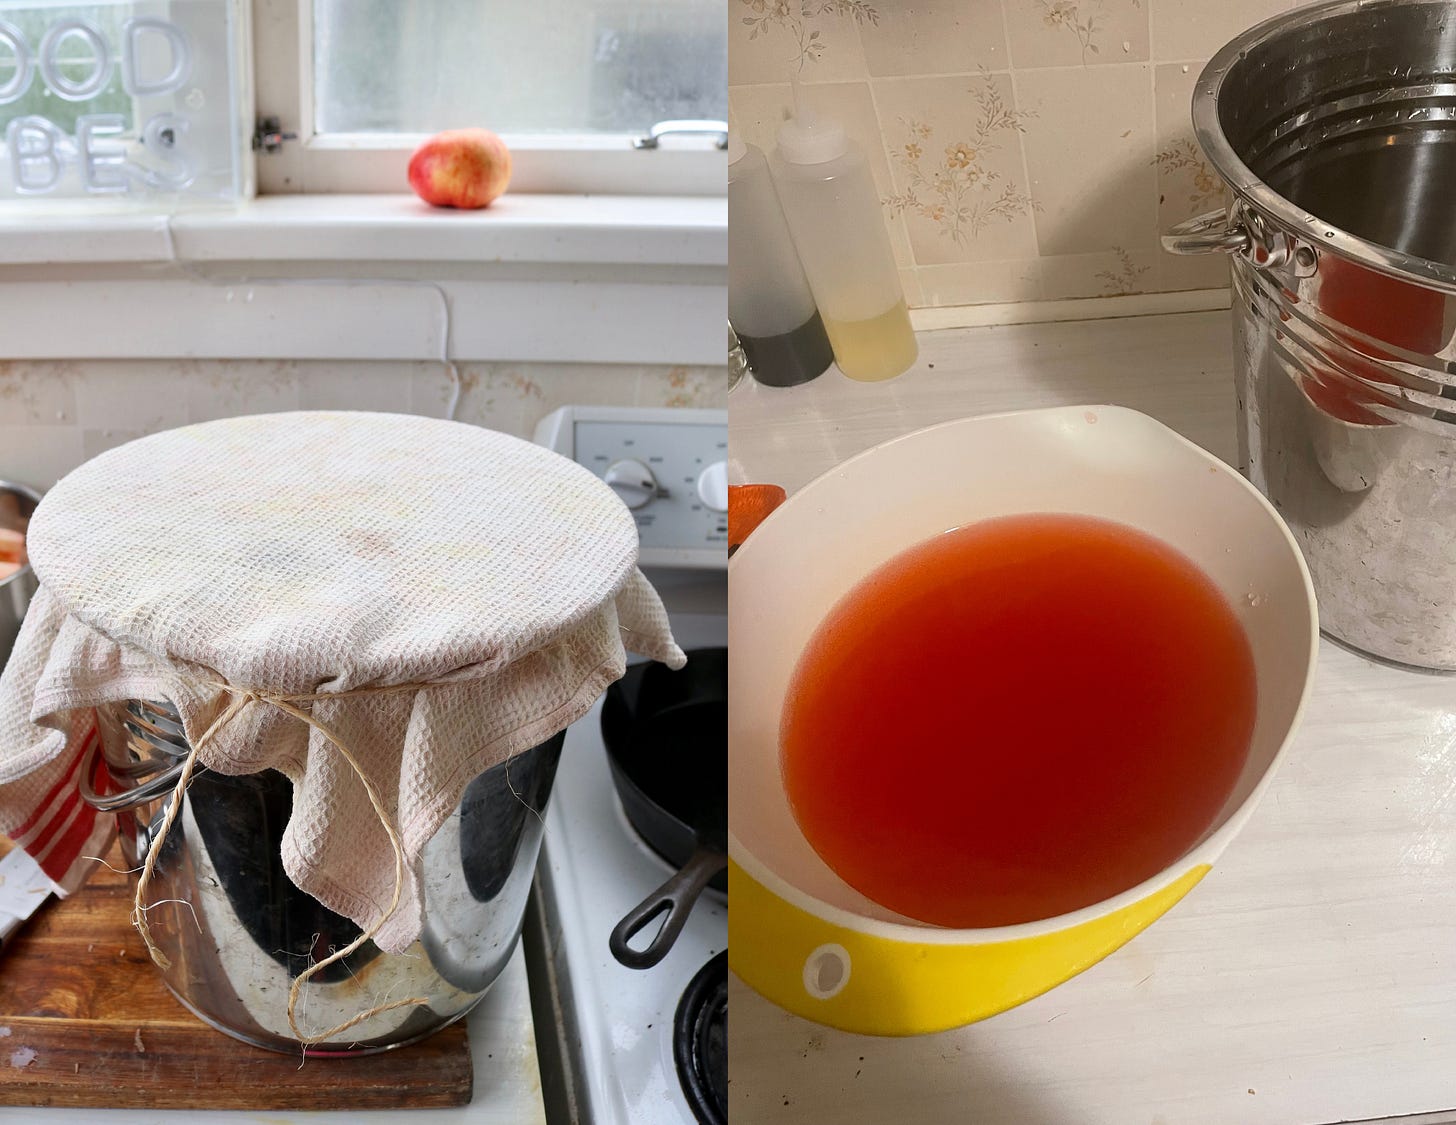
Place the apple scraps in a sterilised bucket (plastic/stainless steel) or large wide-mouthed glass container. Place the sugar in a medium bowl, pour over 250ml boiling water and stir to dissolve. Add the sugar water to the apples, along with 2 litres of cold water (boiled then cooled water is best) to fully submerge the apples. Cover the bucket with a tea towel and secure it tightly by tying down with a loop of twine - you want a little airflow during the fermentation process, so don’t cover with an airtight lid. Place in a dark place at room temperature for 2-3 weeks, gently giving the bucket a swish/swirl each day (this helps to prevent mould from forming on top).
Stage 2 - Acetic Fermentation (ethanol to acetic acid via naturally-occurring Acetobacter bacteria & oxygen)
After 1-2 weeks, the liquid will be bubbling with the fermentation process, but after 2-3 weeks, the bubbling and fermentation should have ceased and the liquid will have a distinctive sweet alcoholic smell. At this stage, strain the liquid from the apple scraps and discard the apple scraps to compost. Return the liquid to the bucket, re-cover with the tea towel and secure with twine. Return to a dark place at room temperature and leave for a further 4-6 weeks, tasting occasionally, until it has a tangy, sour taste and distinct vinegar smell. During this process, you may see a scummy film forming just below the surface - this is a ‘mother’ or ‘SCOBY’ that is made of settled good bacteria and yeast. Leave this in the vinegar and add some to your next batch to speed up the fermentation process. Once happy with the taste, transfer into sterilised bottles and store at room temperature.
Alby’s Advice:
You can adjust the amounts of water and sugar based on how many apple scraps you have. Use enough water to fully submerge the apple scraps plus a little extra. Add about 1 tbsp sugar for every 250ml (1 cup) water.
If you want to speed up the fermentation process, you can add a decent splash of apple cider vinegar or some of the ‘mother’ from your previous batch with your apple scraps, sugar and water at the beginning.
Adding sugar is important to help feed the wild yeasts in stage 1 of the fermentation process.






Good article on the apple. Don’t forget the Coxes Orange.A good eating apple and possibly a close second to the Braeburn. 🤠